
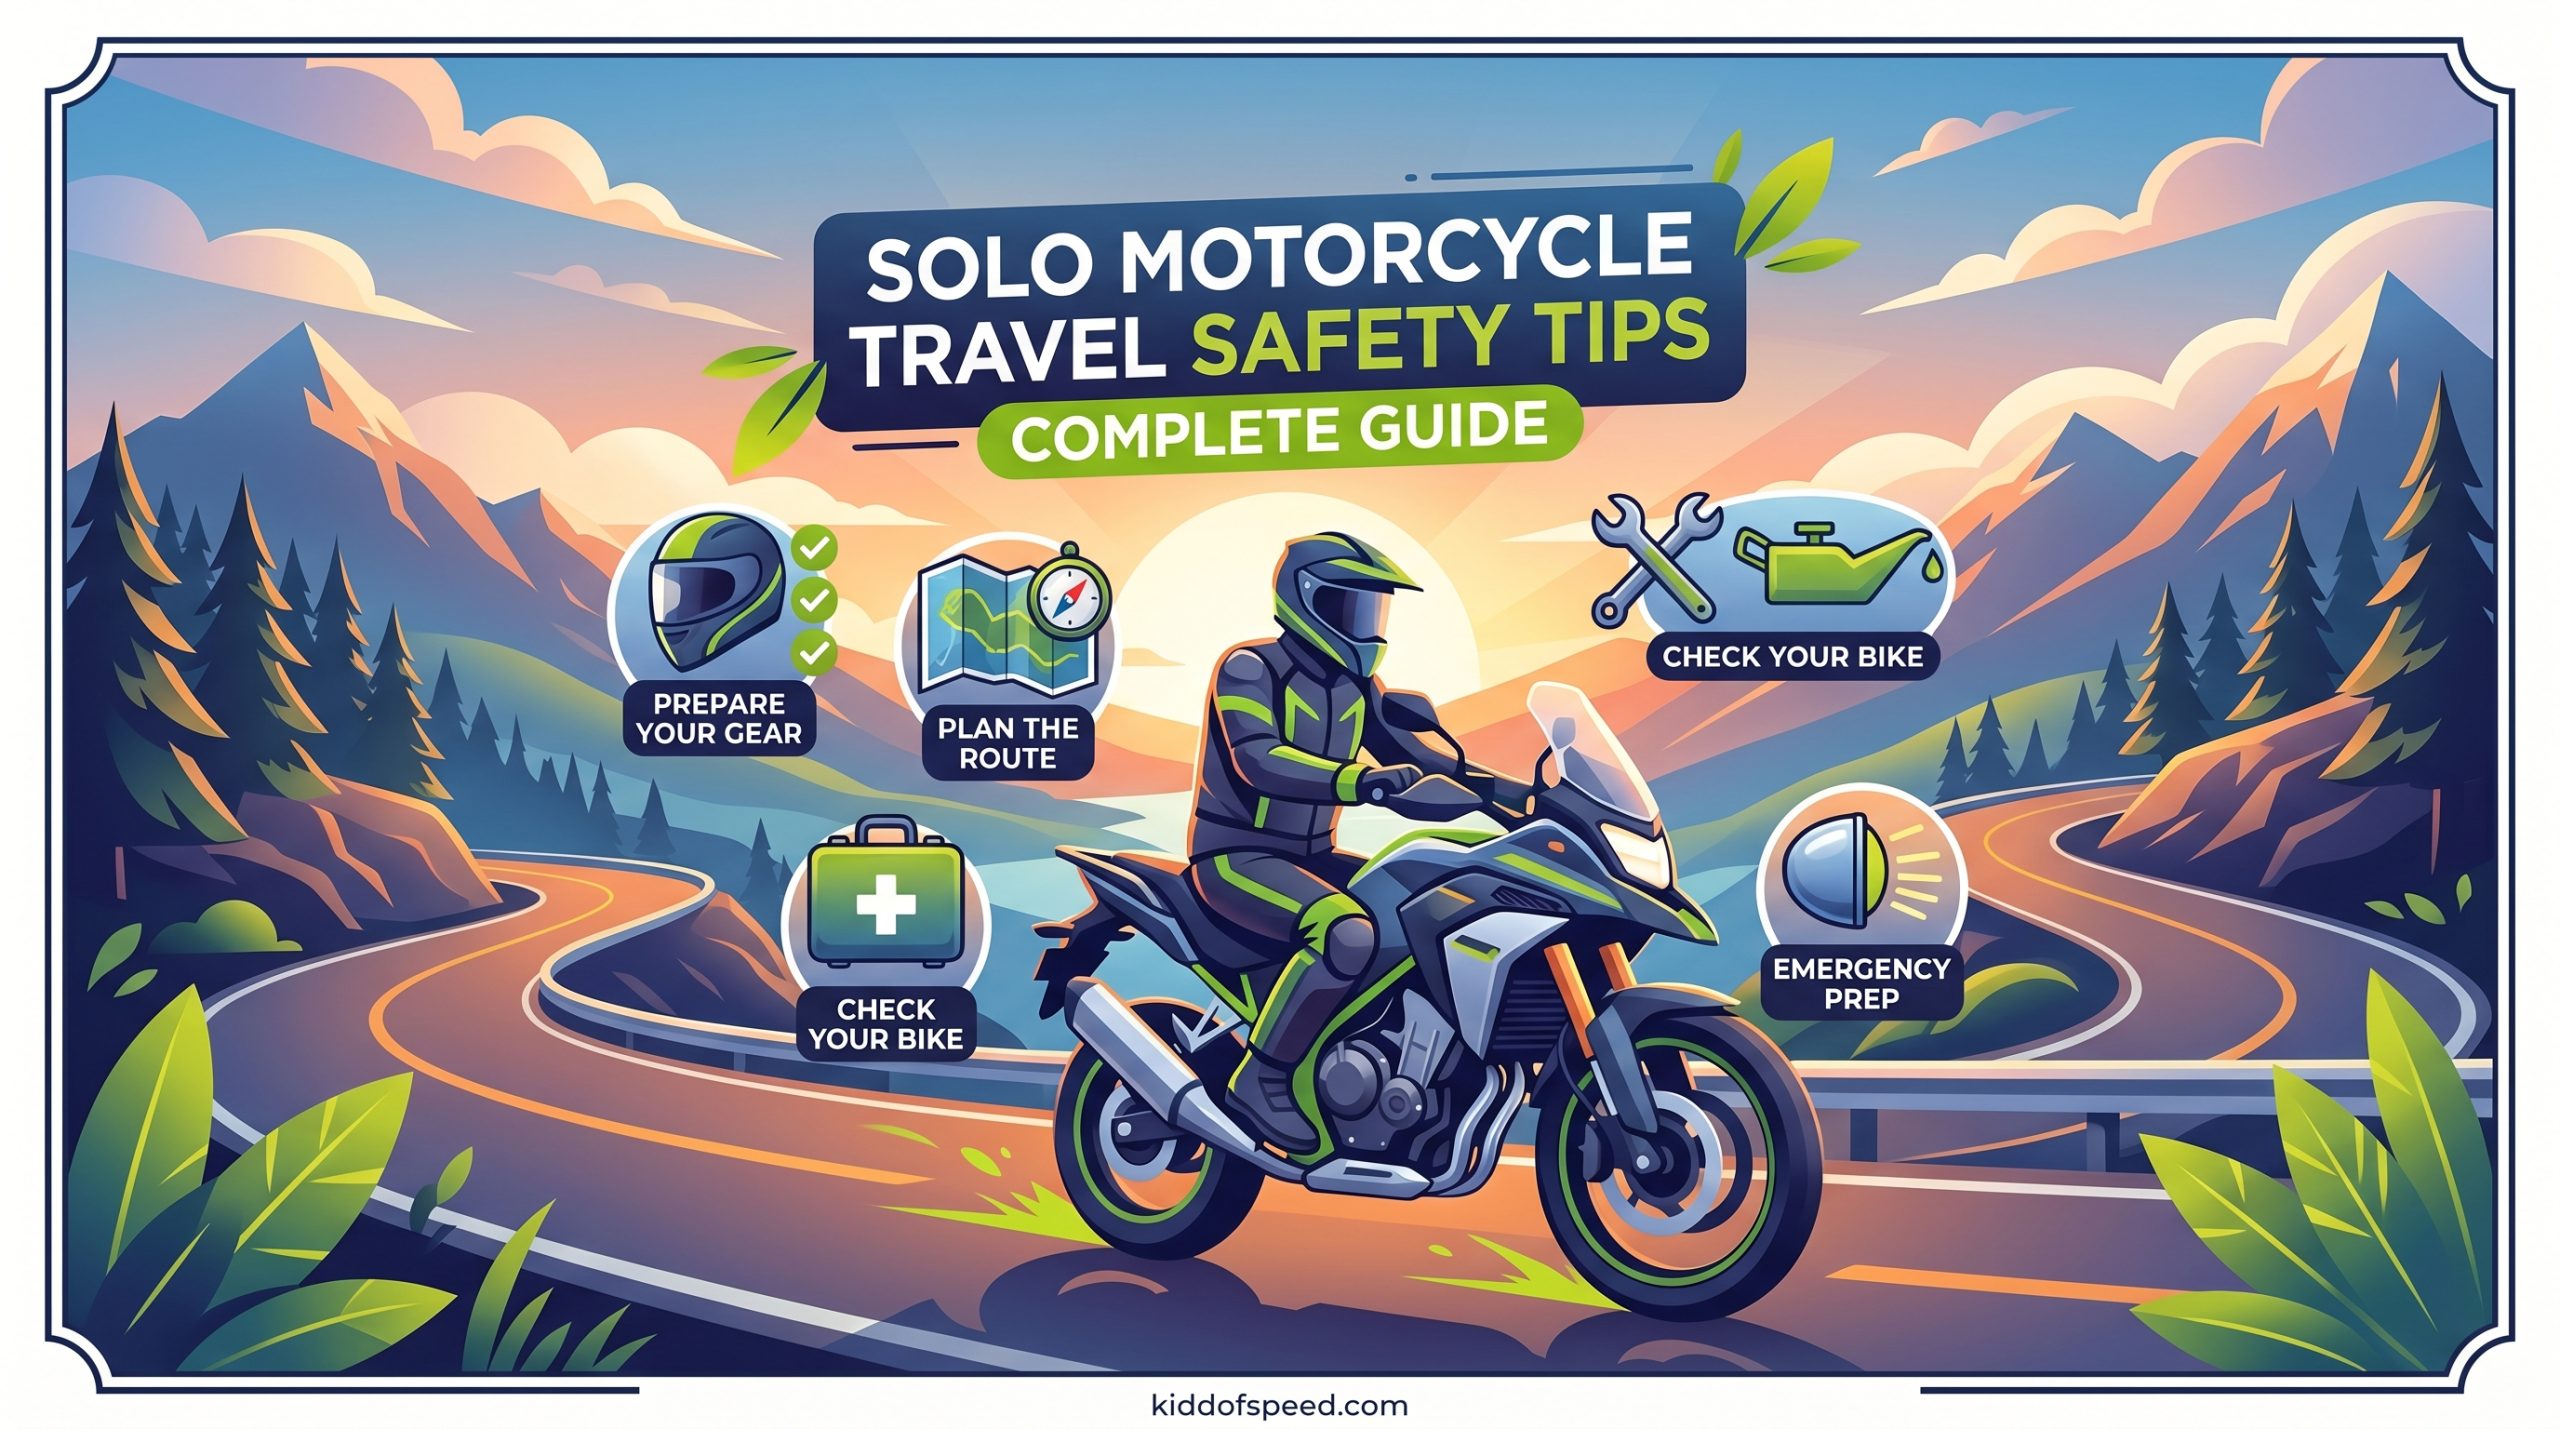
There is nothing quite like the feeling of hitting the open road on two wheels with nothing but your thoughts and the horizon ahead. Solo motorcycle travel offers a unique sense of freedom and self-discovery that group riding simply cannot match. This comprehensive guide to Solo Motorcycle Travel Safety Tips will give you everything you need to prepare for, execute, and enjoy your solo adventures with confidence.
Our team at Kidd of Speed has spent years riding solo across thousands of miles. We have learned the hard lessons so you do not have to. Whether you are planning your first overnight trip or your first cross-country tour, these safety strategies will keep you protected on the road.
Riding alone means you have no backup rider to help with breakdowns, injuries, or navigation emergencies. Every decision rests on your shoulders. That is why preparation becomes your best safety tool. The tips in this guide cover everything from pre-trip inspections to mental preparation, all designed to help you return home safely with stories worth telling.
Table of Contents
- Why Solo Motorcycle Travel Safety Matters
- Solo Motorcycle Travel Safety Tips: Your Complete Guide
- Pre-Trip Motorcycle Inspection: The T-CLOCS Checklist
- Essential Safety Gear: The ATGATT Philosophy
- Route Planning and Communication Protocols
- Weather Monitoring and Riding Conditions
- Pacing, Breaks, and Physical Self-Care
- Night Riding Risks and Avoidance Strategies
- Roadside Emergency Preparedness
- Mental Preparation and Mindset for Solo Riding
- Frequently Asked Questions
- Final Thoughts on Solo Motorcycle Travel Safety Tips
Why Solo Motorcycle Travel Safety Matters
Riding solo removes the safety net that group riding provides. When you travel with others, someone can call for help if you are injured, help with mechanical repairs, or simply offer a second opinion on risky road conditions. When riding alone, you must be prepared to handle every situation independently.
The statistics tell part of the story. Motorcycle accidents involving solo riders often have worse outcomes because there is no one present to provide immediate assistance or call emergency services. A simple fall in a remote area can become life-threatening if you cannot reach your phone or flag down help.
But the risks should not keep you off the road. They should motivate you to prepare thoroughly. Solo motorcycle travel safety is about building layers of protection through preparation, gear, and smart riding practices. Each layer reduces your risk and increases your confidence.
Solo Motorcycle Travel Safety Tips: Your Complete Guide
The following sections break down every aspect of solo motorcycle safety into actionable steps. We have organized these Solo Motorcycle Travel Safety Tips by category so you can focus on what matters most for your specific trip. Work through each section as you plan your adventure.
Pre-Trip Motorcycle Inspection: The T-CLOCS Checklist
Before every solo trip, you need to perform a thorough motorcycle inspection. The Motorcycle Safety Foundation recommends the T-CLOCS checklist, which covers every critical system on your bike. Skip this step and you are gambling with your safety.
T-CLOCS stands for Tires, Controls, Lights, Oil, Chassis, and Stands. Run through each category methodically before departure. This inspection takes 15 minutes but can save you hours of roadside frustration or worse.
T – Tires and Wheels
Check tire pressure with a reliable gauge when tires are cold. Underinflated tires handle poorly and overheat. Look for cracks, bulges, or embedded objects in the tread. Check your tread depth – most manufacturers recommend replacement at 2/32 inch, but for safety replace at 4/32 inch.
Inspect your wheels for cracks or dents, especially if you ride on rough roads. Spin each wheel to check for wobbles that indicate bearing problems. Verify that your spokes are tight if you have wire wheels.
C – Controls
Test your handlebars for smooth movement from lock to lock. Any binding or notchiness indicates cable problems or steering head issues. Check throttle operation – it should snap back instantly when released. Inspect all cables for fraying or kinking.
Verify that your brake levers and clutch lever have proper free play. Test brake pedal and lever firmness. Spongy brakes need bleeding before any long trip. Check that your mirrors are tight and properly positioned.
L – Lights and Electrics
Test every light on your motorcycle. Headlight on high and low beam, taillight, brake light, turn signals, and instrument panel illumination. Carry spare fuses and at least one spare headlight bulb if your bike uses standard bulbs.
Check your battery terminals for corrosion and tightness. Test your horn. If you have heated grips, phone chargers, or other accessories, verify they function properly. Electrical failures are common on long trips, especially with added accessories.
O – Oil and Fluids
Check engine oil level with the bike on level ground and upright if required by your manual. Oil should be between the minimum and maximum marks. Dark oil or oil near the change interval should be changed before your trip.
Inspect coolant levels if your bike is liquid-cooled. Check brake fluid – it should be clear, not dark or cloudy. Dark brake fluid indicates moisture absorption and needs immediate replacement. Top off your windshield washer fluid if equipped.
C – Chassis
Inspect your chain for proper tension and lubrication if applicable. A loose chain can jump off the sprocket; a tight one can damage your transmission. Check your shaft drive oil level if your bike uses shaft final drive. Inspect belt drives for cracks or fraying.
Look at your suspension for leaks or damage. Bounce each end of the motorcycle to check damping action. Verify that your frame shows no cracks or damage, especially around engine mounts and swingarm pivot points.
S – Stands
Test your side stand and center stand for proper operation. The side stand should snap up and stay up, snap down and stay down. Check the kill switch function if your bike has a side stand interlock. Lubricate pivot points if they feel sticky.
Essential Safety Gear: The ATGATT Philosophy
ATGATT stands for All The Gear All The Time. This philosophy should guide every clothing decision you make while riding. Road surfaces do not care how hot it is outside or how short your trip will be. Asphalt hurts just as much on a 5-minute ride as on a 5-hour ride.
The Full-Face Helmet
Your helmet is the single most important piece of safety equipment. Full-face helmets offer the best protection for your chin and face, areas that hit the ground in most crashes. Look for DOT certification minimum; ECE or Snell certification indicates higher testing standards.
Replace your helmet every 5 years or immediately after any impact. Even a small drop can compromise the internal foam structure. A $200 helmet with fresh certification protects better than a $600 helmet that is 8 years old.
Motorcycle Jacket and Pants
Your jacket and pants should be designed specifically for motorcycling. Denim and regular leather fashion jackets offer minimal protection. Look for abrasion-resistant materials like leather, Cordura, or Kevlar-reinforced textiles. Armor at shoulders, elbows, back, hips, and knees absorbs impact energy.
For summer riding, ventilated mesh jackets and pants with armor provide protection without overheating. For cold or wet weather, invest in waterproof layers. Hypothermia is a real risk at highway speeds in cool rain.
Riding Gloves and Boots
Your hands are usually the first thing to hit the ground in a fall. Quality motorcycle gloves have palm sliders, knuckle protection, and reinforced stitching. Gauntlet-style gloves that cover your wrists offer better protection than short gloves.
Motorcycle boots need ankle protection, oil-resistant soles, and sturdy construction. Work boots and hiking boots do not offer the same ankle crush protection or sole stiffness for peg support. Your boots should cover your ankles completely and have minimal heel height.
High-Visibility and Rain Gear
A fluorescent yellow or orange vest worn over your jacket makes you visible to drivers who might otherwise miss you. Reflective strips on your gear and helmet catch headlights at night. Assume you are invisible to other drivers and dress to be seen.
Pack rain gear even if the forecast looks clear. Weather changes quickly, and riding wet becomes miserable and dangerous. Waterproof glove covers and boot covers take up little space but save your ride when storms hit.
Route Planning and Communication Protocols
Smart route planning keeps you on safer roads and closer to help if you need it. Avoid routes that take you through high-crime urban areas at night or isolated mountain passes in bad weather. Plan to ride during daylight hours on well-traveled roads.
Before leaving, share your complete itinerary with at least two trusted contacts. Include your planned route, overnight stops, and estimated arrival times. Set up check-in schedules – a simple text message at lunch and when you reach your hotel lets someone know you are safe.
Backup Navigation
GPS and phone apps fail. Batteries die. Cell service disappears in remote areas. Carry paper maps as backup for your entire route. Learn to read them before you need to. A paper map works without batteries, cell towers, or satellite signals.
Download offline maps to your phone before departure. Google Maps, Gaia GPS, and similar apps allow map downloads for areas without service. Screenshot your route each morning as additional insurance.
Emergency Information Cards
Carry a card with your emergency contacts, blood type, allergies, and medical conditions. Laminate it or seal it in a waterproof bag. Keep one in your wallet and tape one inside your helmet. First responders need this information if you cannot communicate.
Weather Monitoring and Riding Conditions
Weather creates some of the most dangerous riding conditions you will face. Rain reduces traction and visibility. Wind pushes you around in your lane. Fog can drop visibility to near zero. Heat causes dehydration and fatigue.
Check the weather forecast for your entire route before departing each morning. Use apps that show radar and hourly predictions. Do not just look at departure and destination – check conditions along the entire route corridor.
When to Stop
Light rain requires caution and smooth inputs. Heavy rain, especially early in a storm when oil rises to the road surface, demands you pull over. Lightning on open roads puts you at risk. High winds that push you out of your lane mean it is time to wait.
Extreme heat above 95 degrees Fahrenheit requires frequent hydration stops and rests. Cold below 40 degrees demands proper layering to prevent hypothermia. Know your limits and the limits of your gear.
Heat and Cold Management
In hot weather, open vents on your gear and wear a cooling vest if available. Stop every hour to drink water, even if you do not feel thirsty. Soak your shirt or cooling towel at gas stations. Riding dehydrated slows your reaction time.
In cold weather, wear base layers that wick moisture away from your skin. Block wind with your outer layer. Heated grips or heated gear extend your comfortable temperature range significantly. Cold fingers cannot operate controls properly.
Pacing, Breaks, and Physical Self-Care
Fatigue kills more motorcyclists than most people realize. A tired rider makes slow decisions, drifts out of lanes, and misses developing hazards. When riding solo, you have no one to notice your fatigue and suggest a break.
Follow the two-hour rule: stop every two hours or 100 miles, whichever comes first. Get off the bike, stretch your legs, hydrate, and clear your mind. These 10-minute breaks maintain your alertness throughout the day.
Hydration and Nutrition
Carry a water bottle or hydration pack and drink regularly. By the time you feel thirsty, you are already dehydrated. Caffeine and alcohol dehydrate you further – avoid both while riding. Stop for meals rather than eating while riding.
Heavy meals make you sleepy. Light, frequent snacks maintain energy better than large lunches. Carry protein bars or nuts for times when restaurants are not available. Your brain needs fuel to make split-second safety decisions.
Stretching and Movement
Motorcycle riding creates tension in your neck, shoulders, and lower back. At each stop, stretch these areas. Roll your shoulders, turn your neck gently, and touch your toes. These movements prevent stiffness that limits your control inputs.
Night Riding Risks and Avoidance Strategies
Night riding multiplies every risk you face during the day. You cannot see road hazards, animals, or debris as quickly. Other drivers have more trouble judging your speed and distance. Your own fatigue increases as your body prepares for sleep.
The simplest safety strategy is to avoid night riding entirely. Plan your days to finish riding before sunset. Start early in the morning rather than pushing late into the evening. This one habit eliminates a huge percentage of solo riding risks.
When Night Riding Becomes Necessary
Sometimes delays force you to ride after dark. When this happens, slow down significantly. Your headlight illuminates only a short distance ahead at highway speeds. Reduce speed to give yourself time to react to what appears in your light.
Watch for animal eyes reflecting your headlight, especially in rural areas. Deer are most active at dawn and dusk. Use high beams when legal and no traffic approaches, but be ready to dim them instantly.
Roadside Emergency Preparedness
Mechanical failures happen, especially on long trips. When riding solo, you need tools and knowledge to handle basic repairs yourself or at least get your bike to help. A well-stocked tool kit and some basic skills turn a potential disaster into a minor delay.
Portable Jump Starter
Dead batteries strand countless riders. A portable lithium jump starter fits in your saddlebag and can restart your bike without another vehicle. These devices also usually include USB ports to charge your phone in emergencies. Check the charge level before each trip.
Tire Repair Kit
Tire punctures are the most common roadside problem. A tubeless tire plug kit with CO2 inflators or a small compressor can repair most punctures without removing the wheel. Practice plugging a tire at home before you need to do it on the roadside in the rain.
Carry zip ties, duct tape, and a few common fuses. These simple items have saved many rides. A multi-tool with pliers, knife, and screwdriver handles dozens of minor repairs.
Basic Tool Kit
Your tool kit should include your bike’s specific tools plus a few extras: adjustable wrench, allen keys, screwdrivers, pliers, tire pressure gauge, and spare fuses. Know how to use each tool on your specific motorcycle. Watch YouTube videos of common repairs for your model.
Emergency Cash and Cards
Carry $200 in small bills hidden on your bike for emergencies. Cards and phones fail; cash works everywhere. Keep this money separate from your wallet so you still have options if your wallet is lost or stolen.
Mental Preparation and Mindset for Solo Riding
The mental side of solo motorcycle travel safety gets less attention than gear and maintenance, but it matters just as much. Riding alone for days tests your emotional resilience. Being prepared mentally helps you enjoy the experience rather than endure it.
Building Confidence Gradually
Start with short solo day trips before attempting overnighters. Build to weekend trips before multi-week adventures. Each successful trip builds your confidence and reveals gaps in your preparation. The skills and mindset develop over time.
Your first solo trip will feel strange. The silence at stops, the decisions without input, the responsibility for everything – these feel heavy at first. They become empowering as you prove to yourself that you can handle it.
Dealing with Loneliness
Long solo rides bring solitude that some riders love and others struggle with. Plan evening activities for your downtime. Audiobooks, podcasts, Kindle reading, or journaling give your mind something to do. Call friends or family when you have service.
Many solo riders find that loneliness passes after a few days. You settle into a rhythm and start enjoying your own company. The solo journey becomes meditative. But plan for those first few evenings when the silence feels loud.
Women-Specific Solo Riding Tips
Female solo riders face additional safety concerns around personal security. Trust your instincts about people and places. If a location or interaction feels wrong, leave immediately. Your intuition is a powerful safety tool.
Consider camping at established campgrounds rather than dispersed camping when starting out. Share less information about your solo status with strangers. Position your bike for quick departure when stopping. These habits reduce vulnerability without limiting your adventure.
Trusting Your Instincts
Your subconscious notices threats before your conscious mind processes them. If a road, weather condition, or situation feels wrong, listen to that feeling. Turn around, take the longer route, or stop for the day. Solo riding requires you to be your own safety monitor.
Frequently Asked Questions
What is the 12 second rule on a motorcycle?
The 12 second rule means scanning the road 12 seconds ahead of your current position. At 60 mph, you look approximately one-quarter mile ahead. This scanning distance gives you time to identify and react to developing hazards before they become immediate threats.
What does 2 fingers down mean to bikers?
Two fingers down is a greeting between motorcyclists acknowledging each other on the road. The gesture involves holding down two fingers parallel to the ground, usually as you pass another rider. It signals brotherhood and shared passion for riding.
What is rule 5 motorcycle?
Rule 5 refers to the practice of keeping your motorcycle in top mechanical condition. The rule emphasizes that proper maintenance prevents breakdowns that could leave you stranded or cause accidents. It aligns with the T-CLOCS inspection philosophy.
How often should I take breaks on a long motorcycle ride?
Stop every two hours or 100 miles, whichever comes first. These breaks prevent physical fatigue and mental dullness that lead to accidents. Use each stop to stretch, hydrate, and clear your mind before continuing.
What should I do if my motorcycle breaks down alone?
First, get yourself and the bike to a safe location away from traffic. Use your portable jump starter for battery issues or tire plug kit for flats. If you cannot repair the problem, call for roadside assistance or a tow truck. Your emergency cash and contacts become essential in these situations.
Is it safe to ride a motorcycle alone?
Solo motorcycle riding is safe when you prepare properly. The key differences from group riding are that you must handle all situations yourself and no one is there to help immediately if you are injured. Proper preparation, gear, and communication protocols make solo riding a rewarding and safe experience.
Final Thoughts on Solo Motorcycle Travel Safety Tips
Solo motorcycle travel transforms you as a rider and as a person. The independence, the problem-solving, the quiet moments watching a sunset from a roadside overlook – these experiences reward the preparation and caution that keep you safe.
These Solo Motorcycle Travel Safety Tips give you a foundation for safe adventures. Start with the T-CLOCS inspection. Gear up properly every ride. Plan your route and share it with someone at home. Take breaks before you feel tired. Avoid night riding. Prepare for emergencies.
The road calls to those who hear it. Answer that call safely, and the solo journeys you take will become some of your most treasured memories. We will see you out there. Ride safe.